Some links on this site are affiliate links. We may earn a commission at no cost to you. Learn more.
How to Fix a Leaking Skylight: Causes, Diagnosis, and Repair
A drip near your skylight is alarming — but before you panic, it may not be a leak at all. Moisture around a skylight comes from two very different sources, and the fix depends entirely on which one you’re dealing with. This guide walks you through diagnosing the problem, finding the exact failure point, and making a lasting repair.
Is It Condensation or a True Leak?
This is the first question to answer, and getting it wrong wastes a lot of time and money.
Condensation forms on the interior glass or frame of a skylight when warm, humid indoor air contacts the cold surface. It drips down the shaft or window frame and looks exactly like a leak. Condensation is most common in winter, in rooms with high humidity (bathrooms, kitchens, indoor pools), and in older single-pane skylights without thermal breaks.
Signs you’re dealing with condensation:
- Moisture appears only during cold weather or after cooking/showering
- Drips come from the glass surface or inner frame, not the surrounding drywall
- No water stains appear in the attic around the skylight curb
- The problem disappears when you run a bathroom exhaust fan
True water intrusion enters from outside and typically leaves staining on drywall, ceiling framing, or insulation in the attic. It often appears during or shortly after rain and may be intermittent — showing up with wind-driven rain but not during straight downpours.
How to confirm it: On a dry day, have a helper run a garden hose over different sections of the skylight while you watch from inside and check the attic. Methodically wet the flashing, then the frame, then the glass to isolate the entry point.
The Four Most Common Failure Points
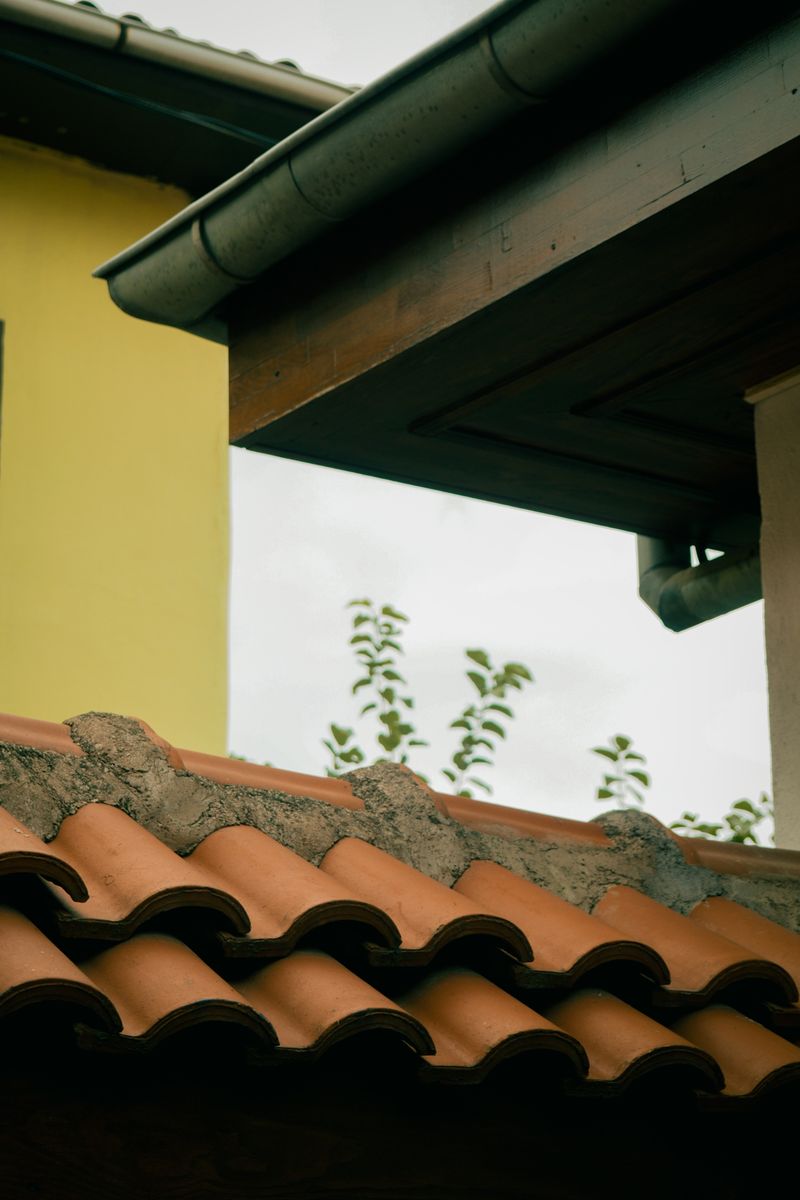
1. Cracked or Deteriorated Curb Flashing
The curb is the raised wooden frame that the skylight sits on. A metal flashing system — usually step flashing on the sides and a saddle or head flashing at the top — seals this transition between skylight and roof. Over time, flashing cracks, pulls away from the curb, or allows gaps at the corners.
This is the single most common source of skylight leaks, particularly in skylights more than 10–15 years old.
2. Failed Sealant or Caulk
Many skylights — especially older or budget models — rely heavily on sealant at the frame-to-flashing joint. Sealant degrades with UV exposure and thermal cycling, typically within 5–10 years. Once it cracks or separates, water has a direct path in.
3. Damaged or Failed Glazing Seal
The glazing seal is the rubber gasket that runs between the glass (or polycarbonate dome) and the frame. When this fails, moisture can penetrate the frame itself and drip inside. This type of leak often produces a very fine drip along the frame edge rather than a stream.
4. Improper Original Installation
If a skylight was installed without proper underlayment integration, with flashing that doesn’t overlap the shingles correctly, or without an ice-and-water shield in cold climates, it will leak — possibly from the first season. This requires correcting the installation, not just patching it.
Step-by-Step Repair for Each Scenario
Condensation Fix
- Improve ventilation in the affected room — add or upgrade an exhaust fan.
- Run the fan during and after activities that generate steam.
- In winter, check that your attic is properly ventilated so the skylight shaft doesn’t trap warm, moist air.
- Consider replacing single-pane skylights with double-pane, low-E units that maintain a warmer interior surface temperature.
- A dehumidifier in heavily affected spaces can eliminate the problem entirely without any roof work.
Cracked Curb Flashing Repair
Tools and materials needed: EPDM flashing tape (self-adhesive, 4–6 inch width works well for most curbs), roofing sealant or polyurethane caulk, a utility knife, wire brush, and a caulk gun.
- Work on a dry day when temperatures are above 50°F for proper adhesive bonding.
- Inspect all four sides of the curb flashing carefully. Photograph everything before you touch it.
- Use a wire brush to clean loose debris, moss, and old sealant from the flashing surface.
- Press any separated flashing back against the curb. If metal is cracked or severely corroded, it needs replacement, not patching.
- Apply EPDM flashing tape over the problem area, overlapping onto both the metal flashing and the curb frame. Smooth it firmly to eliminate air pockets.
- Apply a bead of roofing sealant along all exposed edges of the tape.
- Check the corner transitions — these are the most common failure points. Wrap corners carefully or use pre-formed corner pieces.
For full flashing replacement (the right long-term fix on older installations): Remove the shingles around the curb, peel back or remove the old flashing, install new step flashing with ice-and-water shield underneath, and reflash the curb per the skylight manufacturer’s specs. This is a several-hour job most comfortable DIYers can handle, but hiring a roofer ensures proper shingle integration.
Failed Sealant Repair
- Using a plastic putty knife or oscillating tool, carefully remove all old sealant. Don’t gouge the frame or flashing.
- Clean the joint with mineral spirits or isopropyl alcohol and let it dry completely.
- Apply a continuous bead of high-quality polyurethane or silicone sealant formulated for roofing. Do not use standard interior caulk.
- Tool the bead smooth with a wet finger or caulk tool.
- Allow to cure per manufacturer’s instructions before exposing to rain (typically 24–48 hours).
A quality caulk gun with a smooth-rod mechanism (not ratchet) gives you much better control over bead size on detailed work like this.
Glazing Seal Repair
If the gasket between the glass and frame is dried out or cracked:
- Check whether replacement glazing seals are available from the skylight manufacturer. Many brands stock these.
- Carefully remove the retaining screws or clips that hold the glass panel.
- Pull out the old gasket and clean the channel.
- Press the new gasket into place and reassemble the frame.
- If a replacement gasket is unavailable, a bead of self-leveling silicone sealant in the channel can serve as a temporary fix.
Improper Installation Repair
This scenario is the most involved. Signs include water entering below the flashing level, staining on the sheathing several feet from the curb, or consistent leaking from the first winter after installation.
The only real fix is to remove the skylight and redo the installation correctly:
- Pull back shingles at least 18 inches on all sides.
- Install self-adhering ice-and-water shield around the entire curb, lapping up onto the curb by at least 6 inches.
- Set step flashing on the sides, head flashing at the top, and a proper kickout or saddle flashing at the bottom.
- Integrate flashing with the surrounding shingle courses so water is always directed over, not under, each layer.
- Reinstall shingles and seal per manufacturer specs.
For most homeowners, this repair is best left to a qualified roofer.
When to Replace Instead of Repair
Repair makes sense when:
- The skylight is less than 15–20 years old
- The glazing is still clear and undamaged
- The frame has no significant rot or corrosion
- The failure is isolated (one flashing joint, failed sealant)
Replacement makes more sense when:
- The skylight is older than 20 years, especially if it’s single-pane
- The dome or glazing is yellowed, cracked, or delaminated
- The curb shows rot
- You’ve repaired the same skylight multiple times in a few years
- You’re replacing the surrounding roof, which gives you a natural opportunity to start fresh
Modern double-pane, thermally broken skylights from manufacturers like Velux, Fakro, and Sun-Tunnel are dramatically better than skylights made before the early 2000s. The energy savings and reduced condensation often justify replacement even if the old unit isn’t actively leaking.
Affiliate Product Recommendations
For DIY skylight repair, these are the products worth having on hand:
- Self-adhesive EPDM flashing tape (4–6 inch width) for flashing repairs — far more durable than standard roofing tape and flexible enough for curb corners
- Polyurethane roofing sealant (like NP1 or Geocel 2300) for sealant repairs — longer-lasting than silicone on surfaces that see UV and thermal movement
- A ratchet-free caulk gun with a smooth-rod feed for better control on detail work
- Ice-and-water shield if you’re doing a full re-flash — the self-adhesive membrane is non-negotiable in cold climates
Professional vs. DIY
Sealant repairs and flashing tape patches are well within DIY reach for anyone comfortable working on a roof. Full re-flashing or skylight replacement involves integrating with the shingle system and getting waterproofing layers in the right order — mistakes here lead to expensive water damage. If you’re uncertain about what you’re seeing in the attic or on the roof, a roofer’s inspection (typically $150–$300) is money well spent before you start pulling shingles.
The bottom line: most skylight leaks come down to failed sealant or deteriorated flashing, and both are fixable. Start with a thorough diagnosis, rule out condensation, and match your repair to the actual failure point rather than just caulking everything in sight.
Get our free Roof Maintenance Checklist — delivered to your inbox.
No spam. Unsubscribe anytime.
Recommended Product
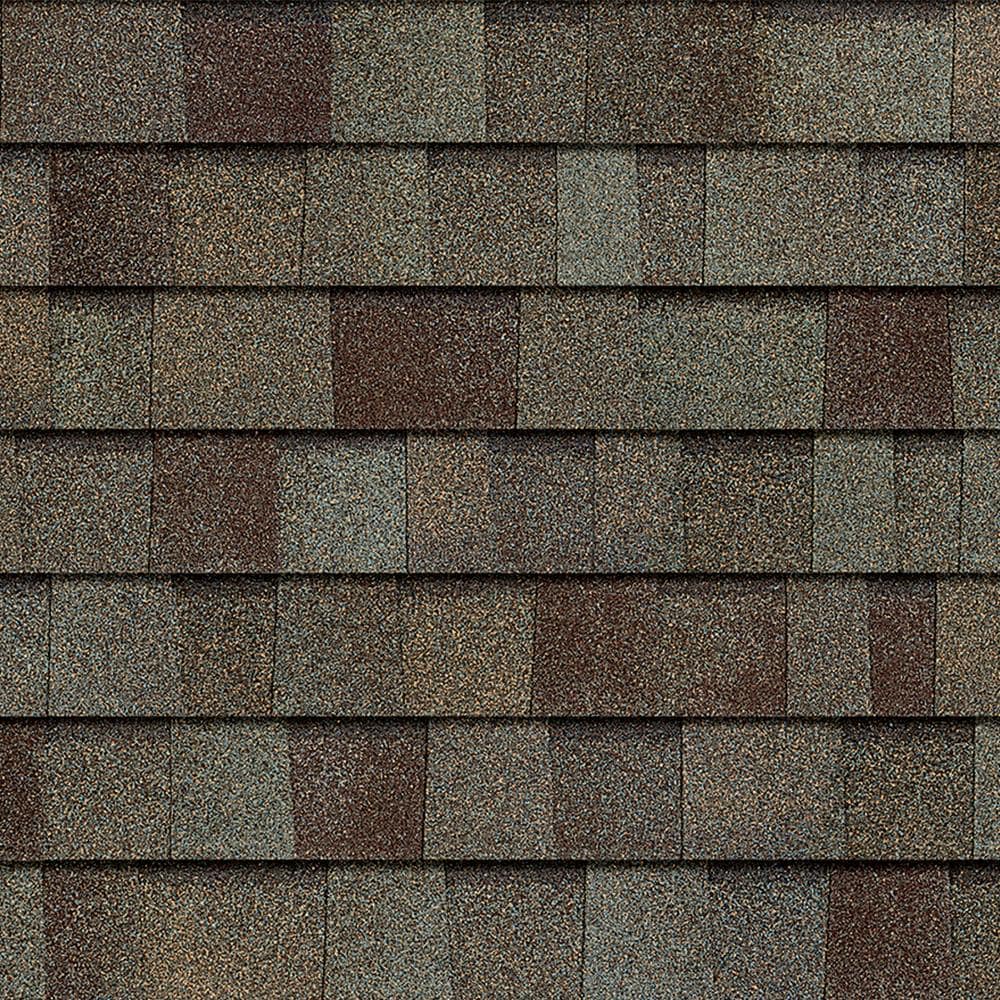
Owens Corning Duration Series Shingles
Industry-leading SureNail Technology for superior wind resistance. Duration shingles offer a lifetime limited warranty and exceptional curb appeal.
- ✓ SureNail Technology
- ✓ Lifetime limited warranty
- ✓ Wind resistant up to 130 mph
- ✓ Available in 50+ colors
As an Amazon Associate, we earn from qualifying purchases.
Get Your Free Roof Maintenance Checklist
Join thousands of readers. Expert tips and guides delivered to your inbox — no spam, ever.
No spam. Unsubscribe anytime. View our Privacy Policy.
Need a Roofing Pro? Get a Free Estimate
Connect with a certified local roofer — no obligation.
Affiliate Disclosure
Some of the links on this page are affiliate links. If you click on one of these links and make a purchase, we may receive a small commission at no additional cost to you. This helps support our site and allows us to continue providing free content.
We only recommend products we believe in. All opinions are our own. We are a participant in the Amazon Services LLC Associates Program, an affiliate advertising program designed to provide a means for us to earn fees by linking to Amazon.com and affiliated sites.

ShingleScience Team
Roofing Contractor & Founder of ShingleScience